Hi Dev,
Looking to implement Laravel 9 image upload using Ajax? You’re in the right place! This comprehensive tutorial covers how to upload images via Ajax in Laravel 9 and store them efficiently into the database and file system. Whether you're building a CMS, dashboard, or user profile system — this example will guide you step-by-step through the process.
By the end of this tutorial, you'll know exactly how to handle file uploads in Laravel 9 using Ajax with validations, database interaction, and user-friendly feedback, all without refreshing the page!
Let’s get started with this practical Laravel 9 Ajax image upload example:
Step 1: Install LaravelFirst of all we are going from scratch new laravel application. if you have already created the project, then skip following step.
composer create-project laravel/laravel example-appStep 2 : Create New Migration
php artisan make:migration create_images_tabledatabase/migrations/create_images_table.php
<?php

use Illuminate\Database\Migrations\Migration;
use Illuminate\Database\Schema\Blueprint;
use Illuminate\Support\Facades\Schema;

return new class extends Migration
{
    /**
     * Run the migrations.
     *
     * @return void
     */
    public function up()
    {
        Schema::create('images', function (Blueprint $table) {
            $table->id();
            $table->string('image');
            $table->timestamps();
        });
    }

    /**
     * Reverse the migrations.
     *
     * @return void
     */
    public function down()
    {
        Schema::dropIfExists('images');
    }
};
php artisan migrateStep 3 : Create New Model
php artisan make:model Imageapp/Models/Image.php
<?php

namespace App\Models;

use Illuminate\Database\Eloquent\Factories\HasFactory;
use Illuminate\Database\Eloquent\Model;

class Image extends Model
{
    use HasFactory;

    protected $fillable = [
        'image',
    ];
}
Step 4 : Create New Controller
In this second step, we need to create a new ImageController; in this file, we will add two method index() and store() for render view and store image logic.
Let's create ImageController by following command:
php artisan make:controller ImageControllerapp/Http/Controllers/ImageController.php
<?php

namespace App\Http\Controllers;
use Illuminate\Http\Request;
use App\Models\Image;

class ImageController extends Controller
{
    public function index()
    {
        return view('index');
    }

    public function store(Request $request)
    {
         request()->validate([
         'file'  => 'required|mimes:png,jpg,jpeg|max:2048',
       ]);

        if ($files = $request->file('file')) {

            $filename = request()->file->getClientOriginalName();
            $file = $request->file->move(public_path('images'), $filename);

            $document = new Image();
            $document->image = $filename;
            info($file);
            $document->save();

            return Response()->json([
                "success" => true,
                "file" => $file
            ]);

        }

        return Response()->json([
                "success" => false,
                "file" => ''
          ]);

    }
}
Step 5 : Create Routes
routes/web.php
<?php

use Illuminate\Support\Facades\Route;
use App\Http\Controllers\ImageController;

/*
|--------------------------------------------------------------------------
| Web Routes
|--------------------------------------------------------------------------
|
| Here is where you can register web routes for your application. These
| routes are loaded by the RouteServiceProvider within a group which
| contains the "web" middleware group. Now create something great!
|
*/

Route::get('/image',[ImageController::class, 'index']);
Route::post('upload-image',[ImageController::class, 'store'])->name('image.store');
Step 6: Create Blade File
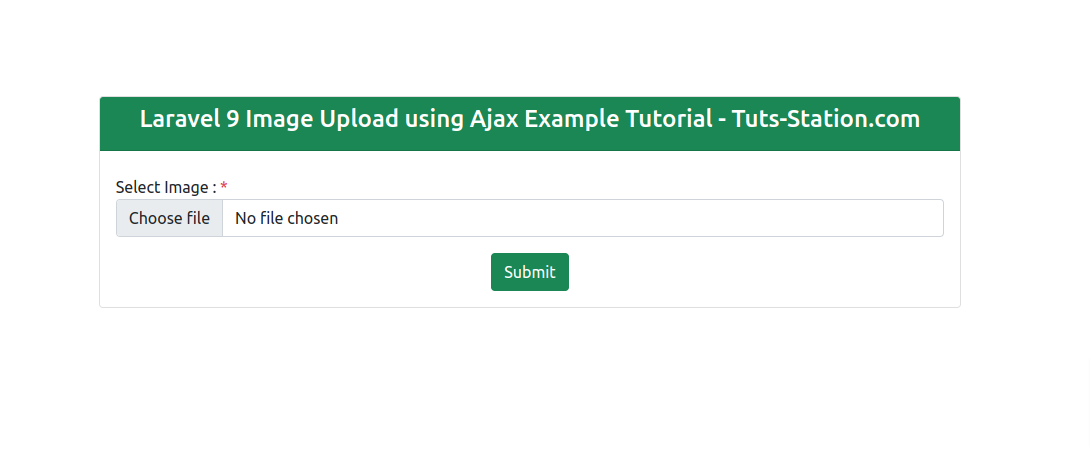
resources/views/index.blade.php
<!DOCTYPE html>
<html>
<head>
    <meta charset="UTF-8">
    <meta name="viewport" content="width=device-width, initial-scale=1.0">
    <meta http-equiv="X-UA-Compatible" content="ie=edge">
    <meta name="csrf-token" content="{{ csrf_token() }}">
    <title>Laravel 9 Image Upload using Ajax Example Tutorial</title>
    <link href="https://cdn.jsdelivr.net/npm/bootstrap@5.0.2/dist/css/bootstrap.min.css" rel="stylesheet" integrity="sha384-EVSTQN3/azprG1Anm3QDgpJLIm9Nao0Yz1ztcQTwFspd3yD65VohhpuuCOmLASjC" crossorigin="anonymous">
    <script src="https://code.jquery.com/jquery-3.3.1.min.js"></script>
    <style>
        .container{
            padding: 0.5%;
        }
    </style>
</head>
<body>
    <div class="container mt-5 pt-5">
        <div class="row d-flex justify-content-center   ">
            <div class="col-md-8">
                <div class="card">
                    <div class="card-header bg-success">
                        <h4 class="text-center text-white">Laravel 9 Image Upload using Ajax Example Tutorial - Stuffcoder.com</h4>
                    </div>
                    <div class="card-body">
                        <div class="alert alert-success alert-dismissible fade show successAlert" style="display:none;" role="alert">
                            File has been uploaded successfully
                            <button type="button" class="btn-close" data-bs-dismiss="alert" aria-label="Close"></button>
                        </div>
                        <form method="POST" enctype="multipart/form-data" id="laravel-ajax-file-upload" action="javascript:void(0)" >
                            <div class="mt-2">
                                <label>Select Image : <span class="text-danger">*</span></label>
                                <input type="file" name="file" class="form-control" id="file">
                                <span class="text-danger">{{ $errors->first('file') }}</span>
                            </div>
                            <div class="text-center mt-3">
                                <button type="submit" class="btn btn-success">Submit</button>
                            </div>
                            </div>
                        </form>
                    </div>
                </div>
            </div>
        </div>
    </div>
</body>
<script type="text/javascript">
    $(document).ready(function (e) {
        $.ajaxSetup({
            headers: {
                'X-CSRF-TOKEN': $('meta[name="csrf-token"]').attr('content')
            }
        });
        $('#laravel-ajax-file-upload').submit(function(e) {
            e.preventDefault();
            var formData = new FormData(this);
            $.ajax({
                type:'POST',
                url: "{{ route('image.store')}}",
                data: formData,
                cache:false,
                contentType: false,
                processData: false,
                success: (data) => {
                    this.reset();
                    $('.successAlert').css('display','block');
                    console.log(data);
                },
                error: function(data){
                    console.log(data);
                }
            });
        });
    });
</script>
</html>
Run Laravel App:
All steps have been done, now you have to type the given command and hit enter to run the laravel app:
php artisan serveOutput :
I hope it can help you...